How to Replace Baseboard Trim
Looking to replace the baseboard trim in your home? Some homeowners assume this is an overly difficult project that requires the expertise of a professional contractor. In reality, though, it's relatively easy and straightforward, requiring just a few basic supplies.
Adding new baseboard trim will enhance your home's aesthetics, creating a more modern and updated appearance. Even if the trim originally used in its construction was pristine, chances are it will fade over time. The once pristine appearance will now look dirty and murky, which is why it's a good idea to replace it.
Out With The Old
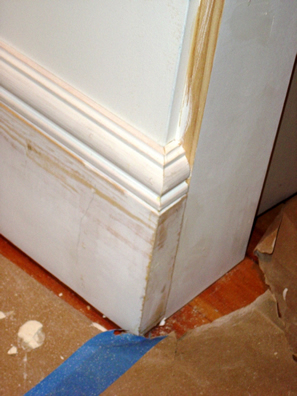
The first step to replacing baseboard trim is to remove the old trim. Using a utility knife or similar cutting blade, make a small cut around the top of the trim so it separates just slightly from the wall. You aren't trying to remove the trim completely just yet, so don't worry about pulling it off. When you are finished, stick the tip of a prybar into this cut and press down with all of your might. When done correctly, the old baseboard trim should pop right off.
Prepare The Wall
After removing the old baseboard trim, you'll want to prepare the wall for the new trim. This includes sanding the area with a medium-grit paper, and using a primer or sealer to prevent water intrusion into the wall. This step is essential to preserving the wall behind the trim; otherwise, it may degrade over time, forcing you to go back and repair the wall later down the road. You can save yourself the heartache, however, by taking the time to properly prep the wall before installing the new trim.
Install The Trim
Now comes the actually installation process. There are two different ways to install baseboard trim: you can glue it to the wall, or you can nail it to the wall. Some homeowners prefer gluing since it doesn't require as many tools, whereas others prefer nailing since it creates a stronger hold to the wall. Either way, you can really can't go wrong with gluing or nailing as long it's done correctly.
When nailing baseboard trim, you'll need to make sure the nails go into the actual studs and not just the drywall. Typically, most homes are constructed with studs placed 16 inches apart. If you can't seem to find the studs, use a locator tool. You can buy a "stud finder" from home improvement stores like Lowes for about $10 bucks, which is a small price to pay for the benefits it offers.
After nailing or gluing the new trim to the wall, feel free to go over it with a fresh coat of paint.
Recent Posts
-

Fire Safety in the Workplace: What You Need to Know
What steps are you taking to prevent fires in your workplace? According to the U.S. Occupational Saf …Aug 23rd 2023 -

Is It Safe to Go Jogging With a Cold Infection?
If you're suffering from a cold infection, you might be wondering whether it's safe to go jogging. T …Aug 22nd 2023 -

5 Safety Tips to Follow When Using a Powder-Actuated Tool
Powder-actuated tools are commonly used to join materials to steel and concrete. Also known as Hilti …Aug 20th 2023